Create / Add a New User
Pre-requisite: Before onboarding a new user, ensure that the card to be linked to the user is added in the Cards section. It is recommended to verify this step beforehand.
Every person who is manually on-boarded will need to have their details added to the portal by following these steps.
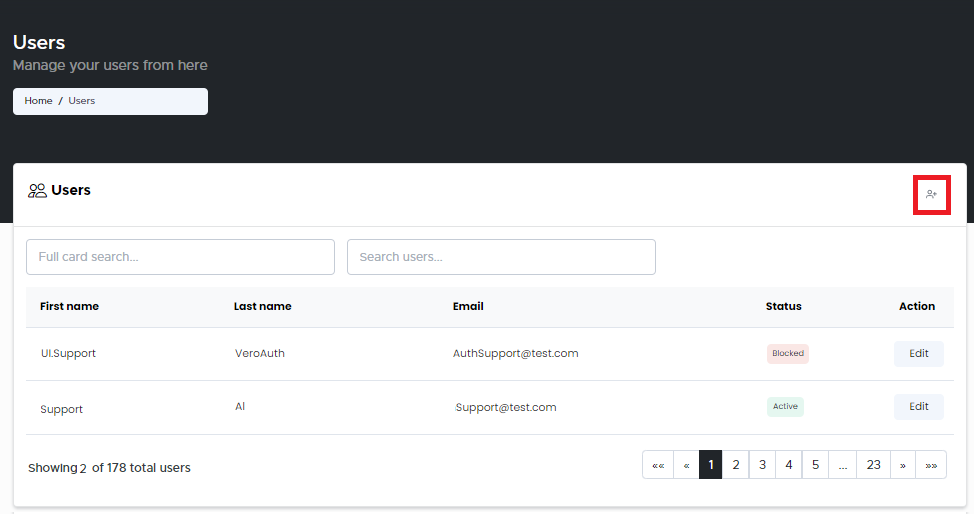
From the Home page, click on Users option. The Users - Manage your users from here page opens up displaying all the list of existing users.

Users - Manage your Users (New User)
Click New User icon on the top right corner. The Onboarding - Account Setup page opens up displaying the relevant fields required for setting up the Account information.
First name: Enter the First name of the user you want to add.
Last name: Enter Last name of the user you want to add.
Email address: Enter the Email address of the user you want to add.
The email address entered is the primary email address for the VeroID Account.
The email address must be unique within the VeroGuard instance. There can only be one account per primary email address.
Onboarding - Account Setup
Click Next. The Onboarding - Resources page opens up displaying the Resources and Application details fields. In this Step 2: Add Applications and Create Resources section, enter the following information:
Onboarding - Resources - Add Application and Create Resources
Application: From the drop-down, select the application - Active Directory (AD), Secure Token Service (STS), or FIDO2 you wish to add.
AD: This application is related to the functionality of AD Login and allows the Users to login to Microsoft Windows with their VeroCard.
STS: This application is related to Web application login using OAuth (OpenID connect) and allows Users to login to websites with their VeroCard.
FIDO2: This application is related to logins using a Passkey. FIDO2 logins can be used to login to Windows using AZURE AD, or any FIDO2 enabled application.
CM: This application is currently not used.
Users will require at least one application to be linked to their account depending on what the VeroCard is required for - others can be added later if needed.
Resource URI: Enter the Resource URI details you wish to add for the application.
AD: Must be the users sAMaccountname and email address with the FQDN.
Add AD Resource Uri
STS: Must be a valid email format.
Add STS Resource Uri
FIDO2: Must be in the required format for the specific application/relying party.
Add FIDO2 Resource Uri
If you do not know the exact format for the FIDO2 resource, we suggest you add a different Resource and then add the FIDO2 resource later as a “provisioned” resource that will capture the correct URI automatically.
Onboarding - Resources - Add Application and Create Resources
Click Next. The Onboarding - VeroCards page opens up displaying the fields to enter the VeroCard Details.
VeroCardID: Enter the VeroCard Terminal ID details.
This can be found….. Link to article
The VeroCard must be already created and available in the system to be linked to the user. You cannot create a new card here.
Onboarding - VeroCards
Click Next. The Review and Submit page opens up.
Review the info added and click submit if no further changes are required. You have now successfully added a User.
The record for the newly added user will now be displayed on the Users page (you may need to refresh).
.svg)