
Setting up your Keyek Card for the first time involves first time installing Keyek Login and then Activating the Keyek Card
-
Installing Keyek Login - Keyek's secure communications interface between Keyek Cards and user devices.
-
Activating the Keyek Card - Setting your secret PIN and linking your identity to the Keyek Card.
Install Keyek Login
Keyek Login
-
Contact your IT department / team to install Keyek Login on AD on-premises connected PC's.
-
Once you have completed the Keyek Login installation, if you have not set your PIN on your Keyek Card, go to Activating my Keyek Card, otherwise go to the Login with Keyek Card process.
-
Your Keyek Card can now be used with any company device where Keyek Login is installed.
-
Activation occurs on the initial connection of the Keyek Card to the Keyek Platform, which will automatically occur when the user attempts to login for the first time.
-
For AD on-premises joined Windows devices Keyek Login will be installed which replaces the standard Windows Hello login.
Before activating your Keyek Card, you can still access your device using your password by clicking the Enter Password Manually link on the Keyek Login screen.
After a successful Keyek Card login, all subsequent logins should be via the Keyek Card. You will no longer use a password for access.
Activate your Keyek Card
-
Return to the Windows to the sign-in screen.
-
Click the Windows icon in the bottom left, select the logged-in user, and click Lock, or
-
Press Win key + L
-
-
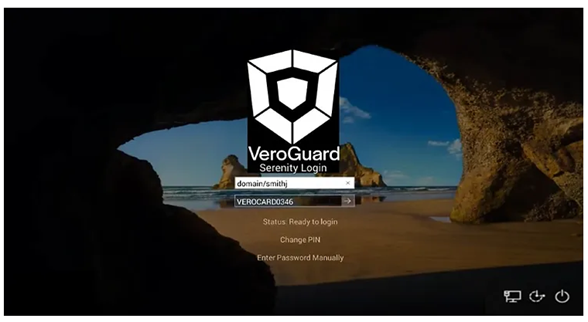
Wait for the Keyek Login prompt to appear (you may need to click the screen or press a key).
-
Your device login screen will now display the Keyek logo.
-
If connected to Keyek, Keyek Login will show the Status: Ready to Login.
-
if not connected to Keyek, Keyek Login will show the Status: Keyek Unavailable.
-
Connection with Keyek is made via your corporate network. If your device cannot connect to Keyek you will not be able to Activate your Keyek Card.
Ensure your device has a network connection to complete Keyek Card activation.
-
Power on your Keyek Card by pressing the button on the top left-hand edge. Wait for the Keyek Card to complete its boot-up process, which takes only a few seconds.
-
Keyek Login will scan for Keyek Cards, including yours. Once found, your Keyek Card number will appear in the dropdown box. If multiple Keyek Cards are detected, you may need to select your Keyek Card from the dropdown menu.
-
Click the arrow or press Enter to continue.
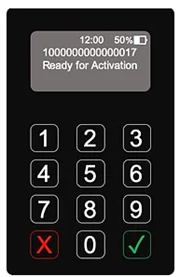
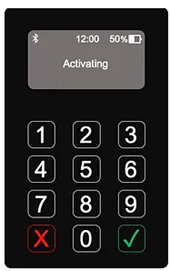
Proceed to activate your Keyek Card. The Keyek Card will connect to your Windows 10/11 device via Bluetooth, indicated by the appearance of the Bluetooth icon on the Keyek Card.
-
Keyek Login will display a status message Keyek Card Activation Required with an Activate link. Click that Activate link to initiate the process. The Keyek Card will display Activating message.
-
If the Keyek Card software needs an update, it will be downloaded and installed first. Both the Keyek Card and Keyek Login will display progress messages during this process. Keep your PC or laptop active to ensure the Keyek Card can use the device’s internet connection.
-
Once completed, the Keyek Card will restart and return to the ready screen.
-
Reconnect to the Keyek Card if necessary (repeat steps 4 to 6).
-
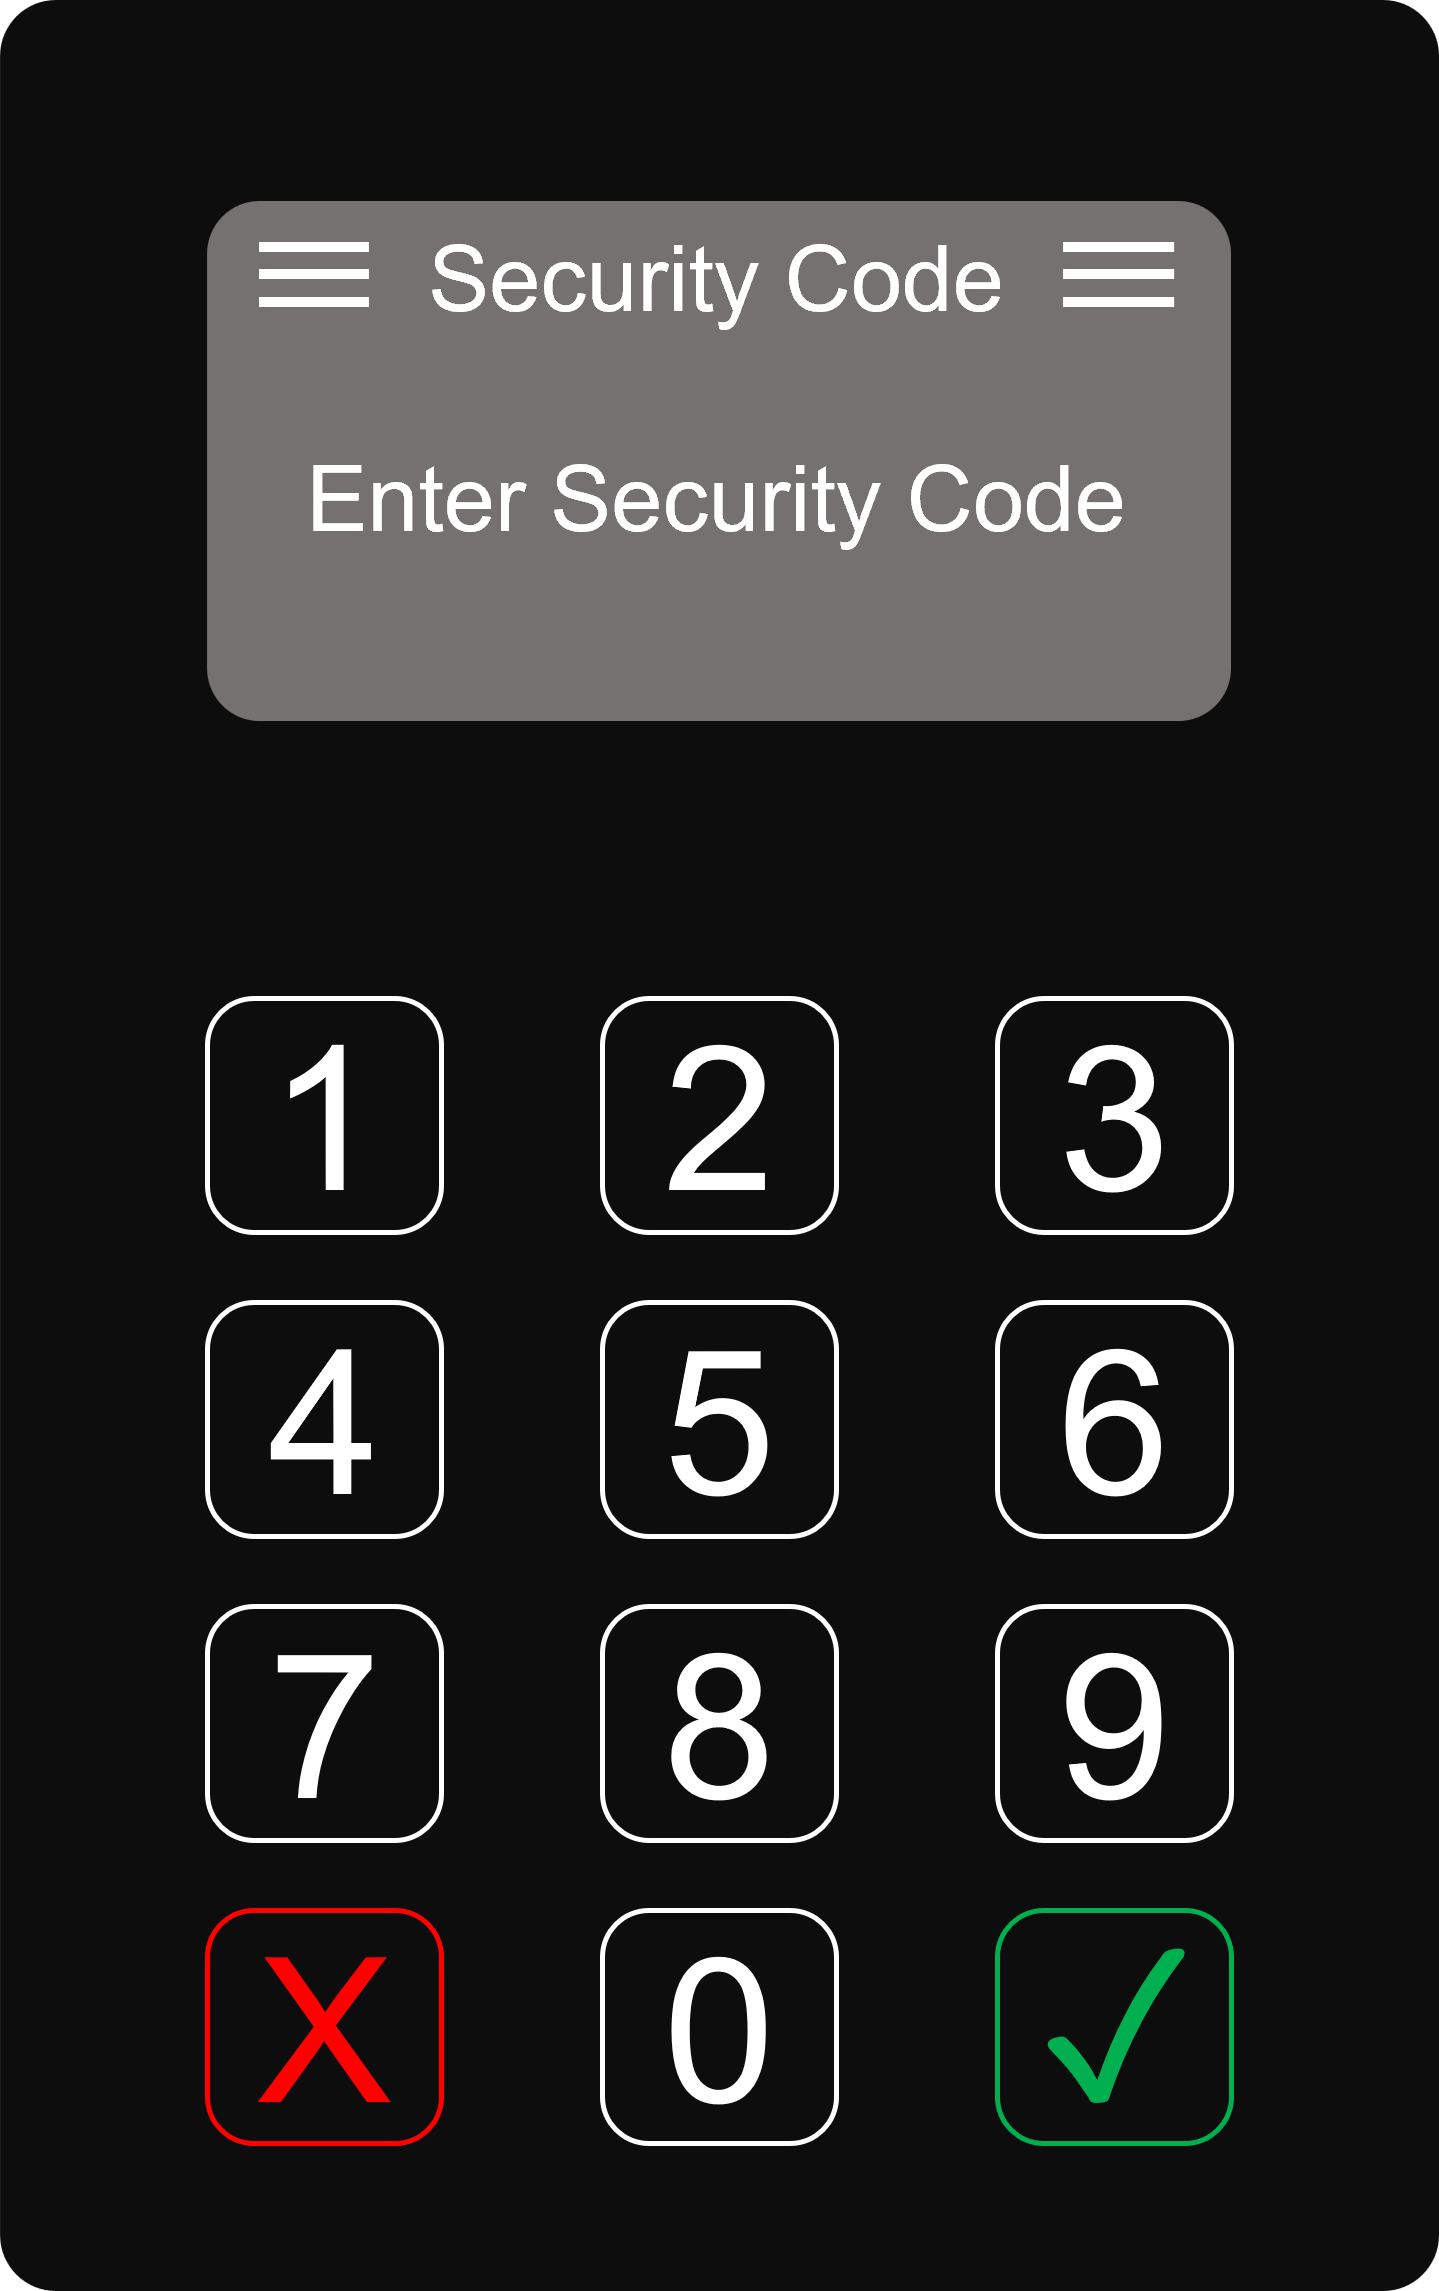
If you have been sent a one time Security Code the Keyek Card will display “Enter Security Code”.
-
The security code will be sent to your primary email address used to establish your VeroID.
-
Enter the 12 digit security code and press the “Green Tick”
-
If the Enter Security Code screen does not display - continue with step 11.
-
The Keyek Card will prompt you to set (and confirm) your PIN.
-
Enter your PIN and press the Green Tick to confirm.
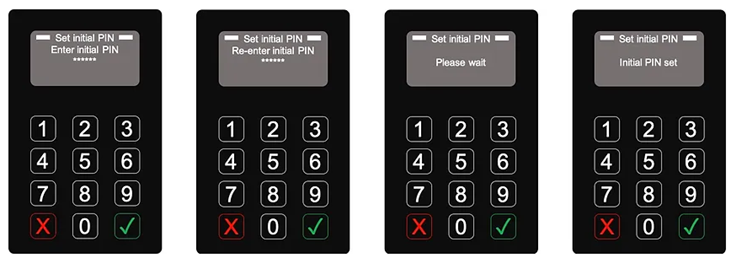
To maintain system integrity, the Security Code is sent to the Platform for verification along with your initial PIN. If the Security Code is incorrect, you’ll need to repeat the process from Step 10, including setting your PIN.
-
The Keyek Card will restart into normal operation mode and display the ready screen.
-
Your Keyek Card is now ready for use in login.