
-
Activation occurs on the initial connection of the Keyek Card to the Keyek Platform, which will automatically occur when the user attempts to login for the first time.
-
Ensure you are using a compatible browser.
-
Currently, the latest versions of Chrome and Edge support this feature. If you are not using one of these browsers, you must download and install one of your choice.
-
Before completing your Keyek Card activation, you can still access the website by entering your username and password as normal.
Activate your Keyek Card
-
Open a Chrome or Edge browser and navigate to your designated Keyek website.
-
Press the button on the top left-hand edge of the Keyek Card to power it on.
-
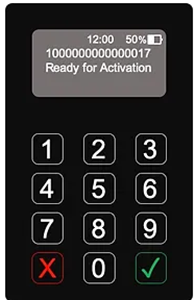
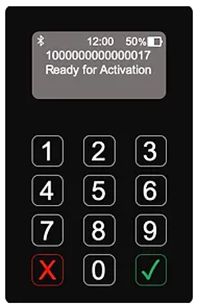
Allow the Keyek Card to complete its boot-up process, which takes a few seconds. It will display its Keyek Card number and Ready for Activation when ready.
-
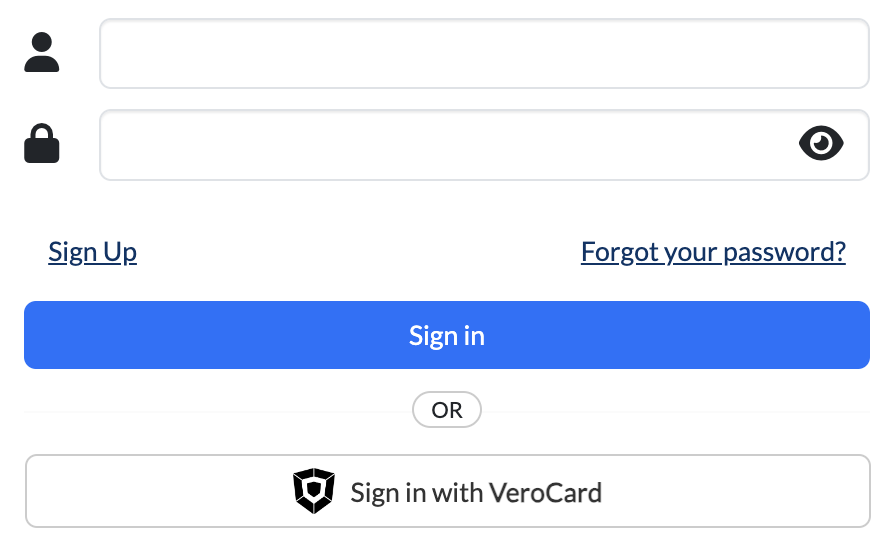
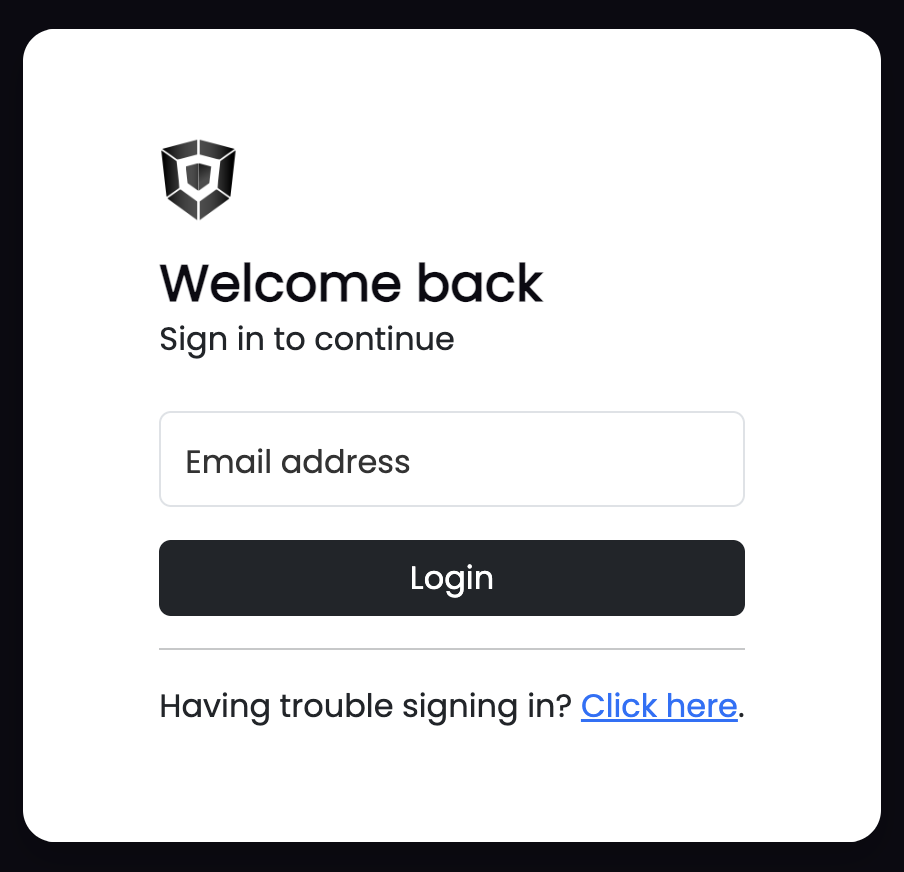
Click the Sign in with Keyek Card button on the website to launch the Keyek Card Sign in. The Welcome back - Sign in to continue page opens up.
-
Enter your email address and click Login to launch the process.
-
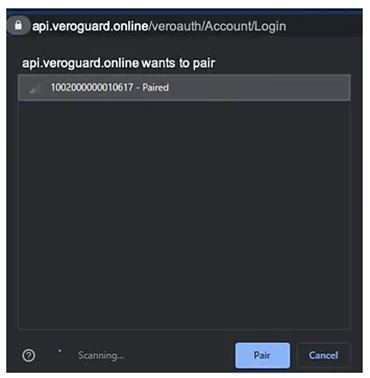
The browser will load a dialog box showing Bluetooth/BLE connections and available Keyek Cards for pairing. If multiple cards are available, they will be listed.
For e.g., Previously paired cards will show as “1000000000000017 - Paired.”
-
From the list of Keyek Cards, click on the card you want to pair with. The Pair button will turn blue. Click Pair to connect.
-
The Keyek Card will connect to the device via Bluetooth, and the Bluetooth icon will appear on the Keyek Card to establish connection.
-
The Login with Keyek Card button will change to Activate Keyek Card. Click the Activate Keyek Card button to launch the pairing process again. Repeat steps 5 and 6.
-
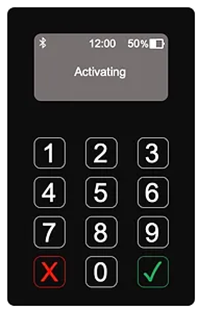
The Keyek Card will display the message as Activating.
10. If the Keyek Card software requires an update, it will download and install it. Both the Keyek Card and website will display progress messages. Keep your device active to maintain the internet connection. Once completed, the Keyek Card will restart and return to the Ready for Activation screen.
11. Reconnect to the Keyek Card by repeating steps 4 and 5 if necessary.
-
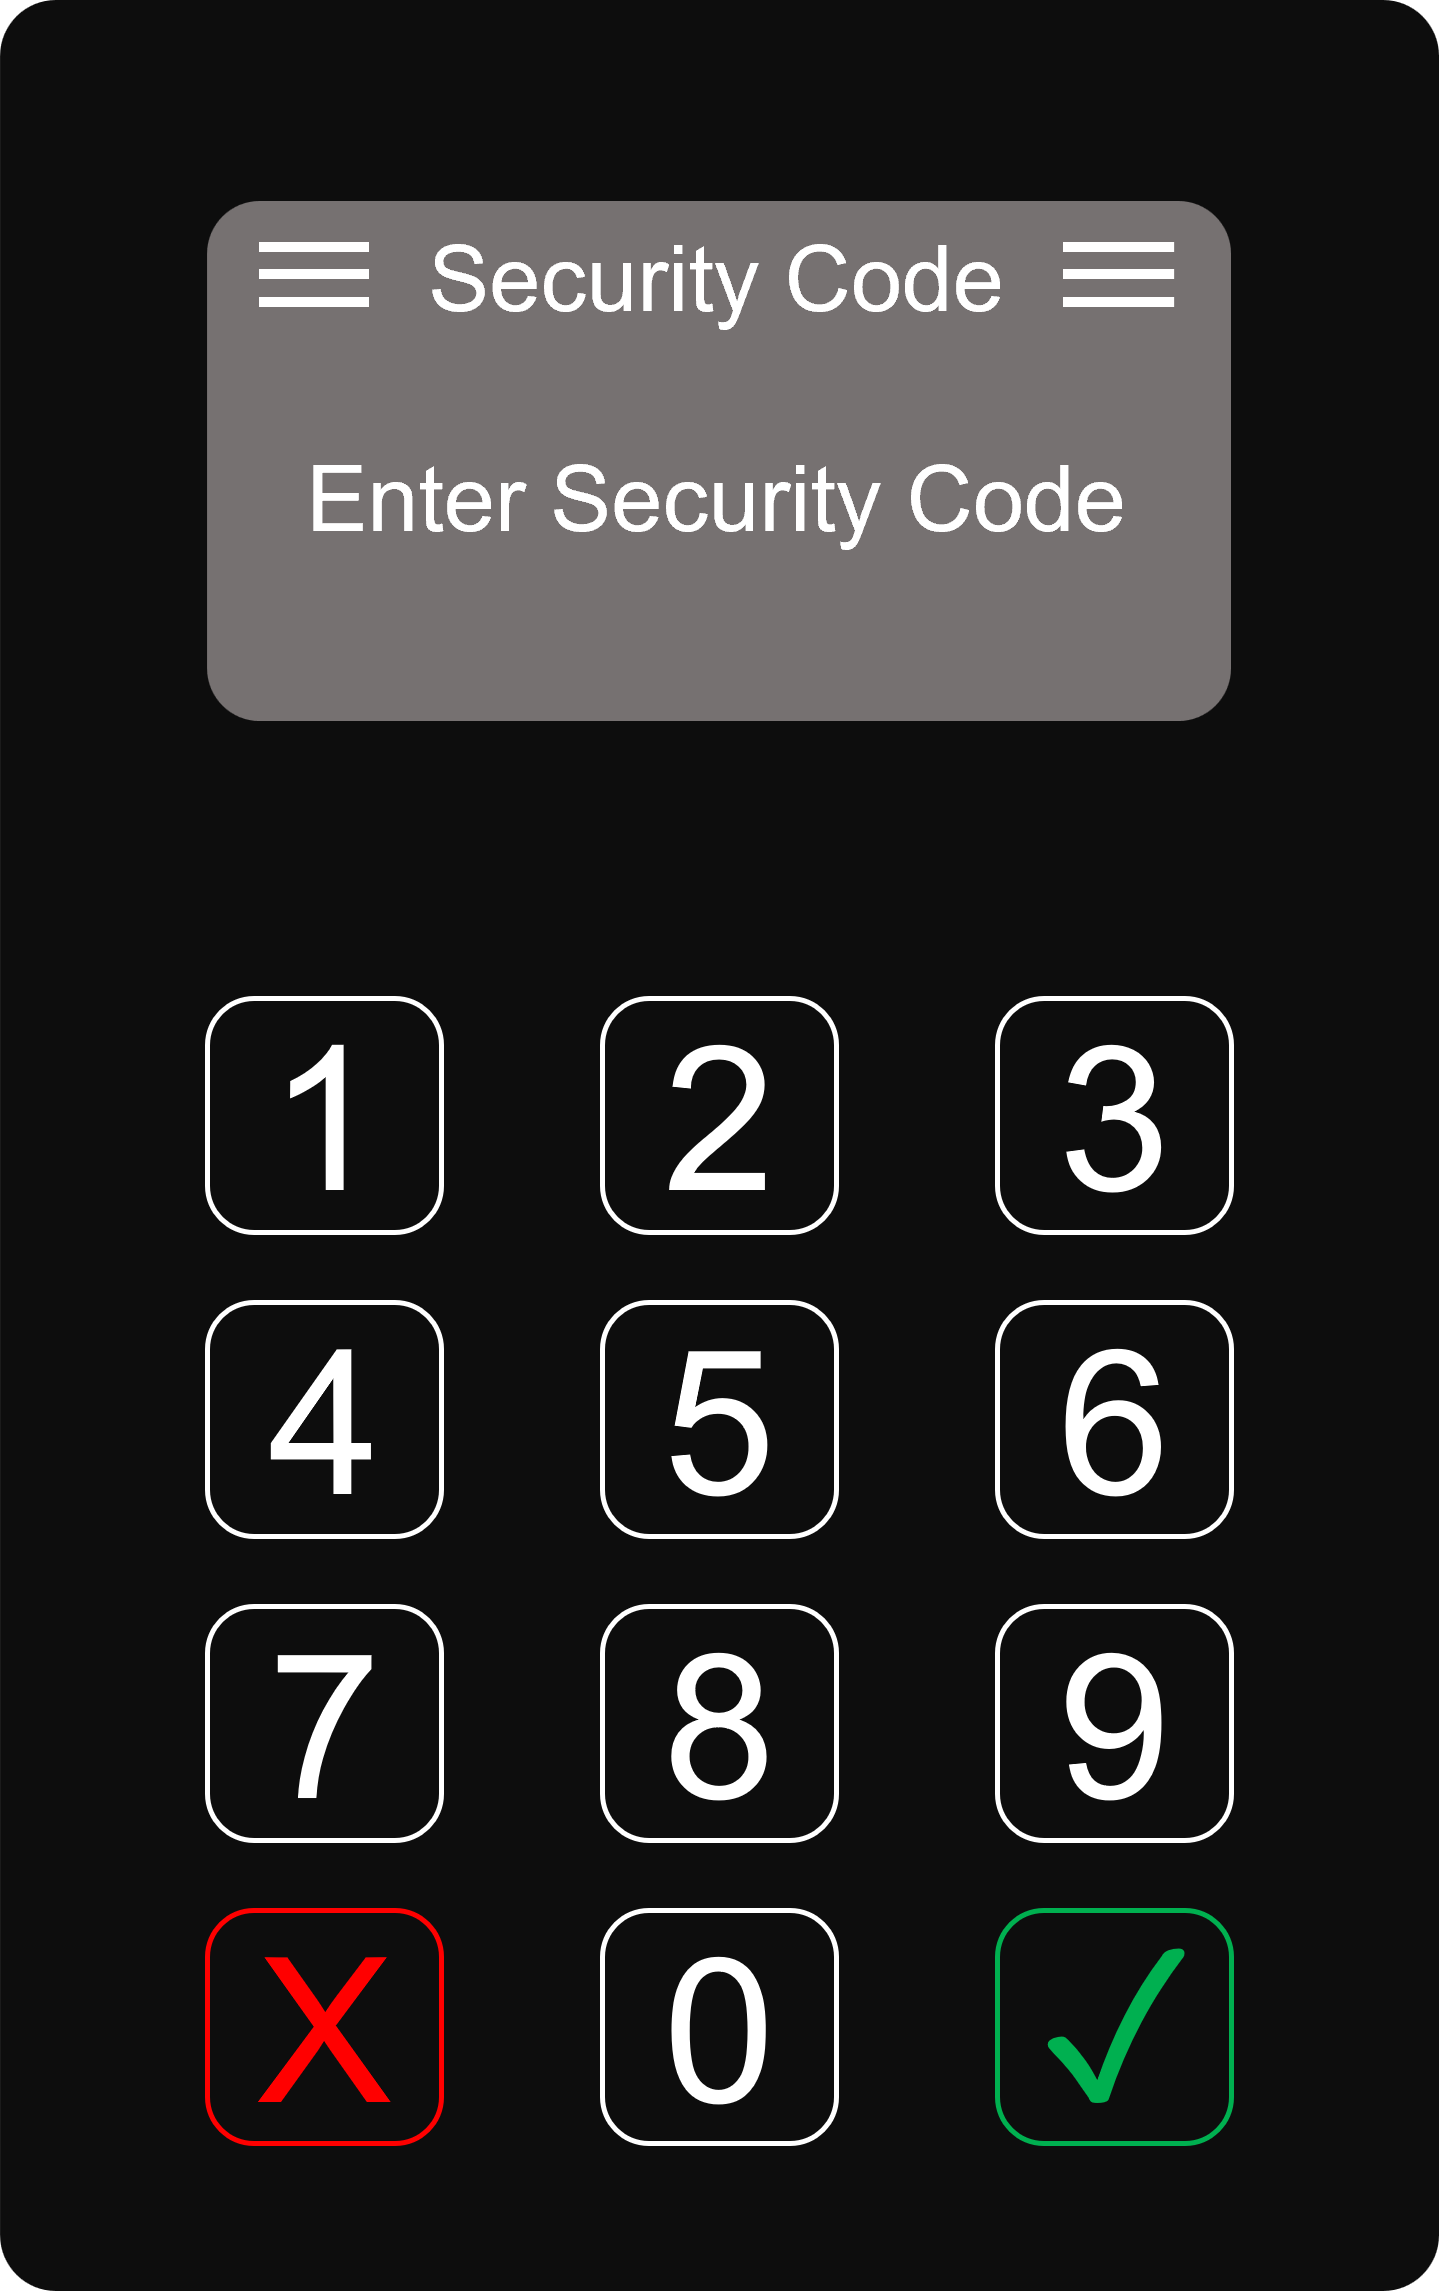
If you have been sent a one time Security Code the Keyek Card will display “Enter Security Code”.
-
The security code will be sent to your primary email address used to establish your VeroID.
-
Enter the 12 digit security code and press the “Green Tick”
-
If the Enter Security Code screen does not display - continue with step 13.
-
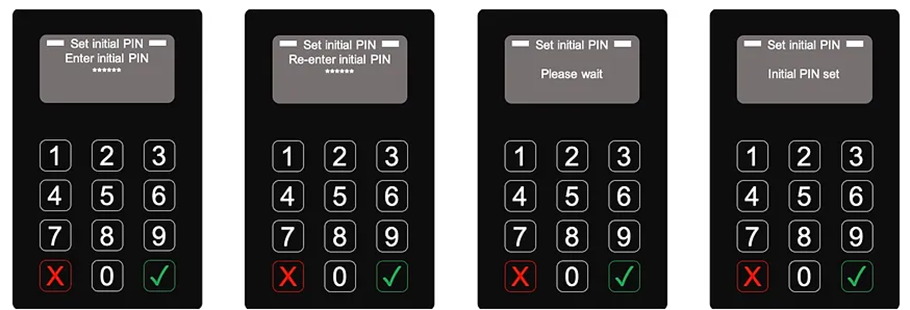
The Keyek Card will prompt you to enter your PIN. For more information on how to set your initial PIN, refer to Set your PIN section.
-
Enter a PIN using a minimum of 4 digits and press the Green Tick. You must enter your PIN twice to confirm accuracy. While the PIN length can range from 4 to 12 digits (ISO 9564), we recommend at least a 6-digit PIN.
Refer to our article Set your PIN for advice on choosing a secure yet memorable PIN.
To maintain system integrity, the Security Code is sent to the Platform along with your initial PIN for verification. If the Security Code is incorrect, you’ll need to repeat the process from Step 10, including setting your PIN.
-
The Keyek Card will restart in normal operation mode and display the ready screen.
16. Your Keyek Card is now ready for login use.